REST client extension: VS Code marketplace
Easy REST testing tool without exiting VS Code
Moving towards microservices or remote services architecture means we need proper REST Testing tools. Imagine flitting between VS Code, Postman, Visual studio, Powershell, bash etc. A relatively normal day for a programmer, no big deal. Well what if we don’t have to Alt+tab all the time and just use one IDE for all our needs 🤔?

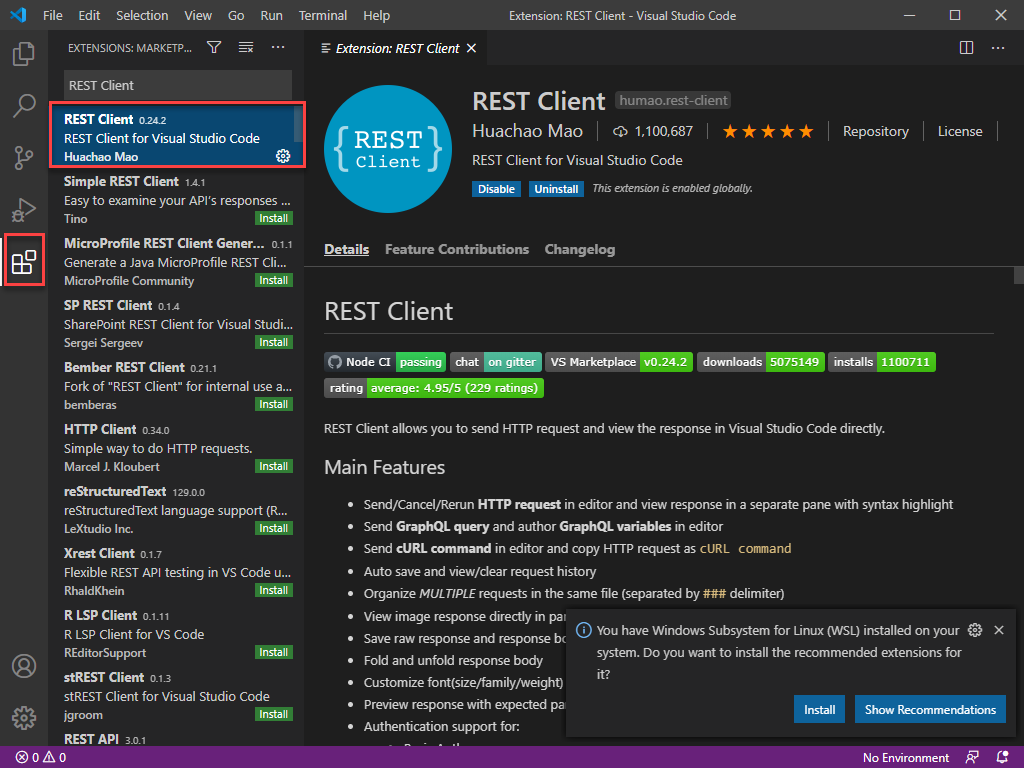
REST Client — allows you to send HTTP request and view the response in Visual Studio Code directly. Click here for marketplace.
The ease of storing all my requests in one place, where I can always go back and check the information anytime. This is a huge plus, considering how absent-minded I get. While Postman gives a lot of customizations and really great REST testing tool, REST Client is equally resourceful and all-in-one-place solution.
Install Extension:
Let’s see how to work with it:
First step is to set the language of the request file. In VS Code, open a new file. Open command palette to set the language of the file to ‘HTTP’ as show below. Then all you need is a request URL and you are good to go. You can save this as an independent file(requests.http) in your workspace folder.

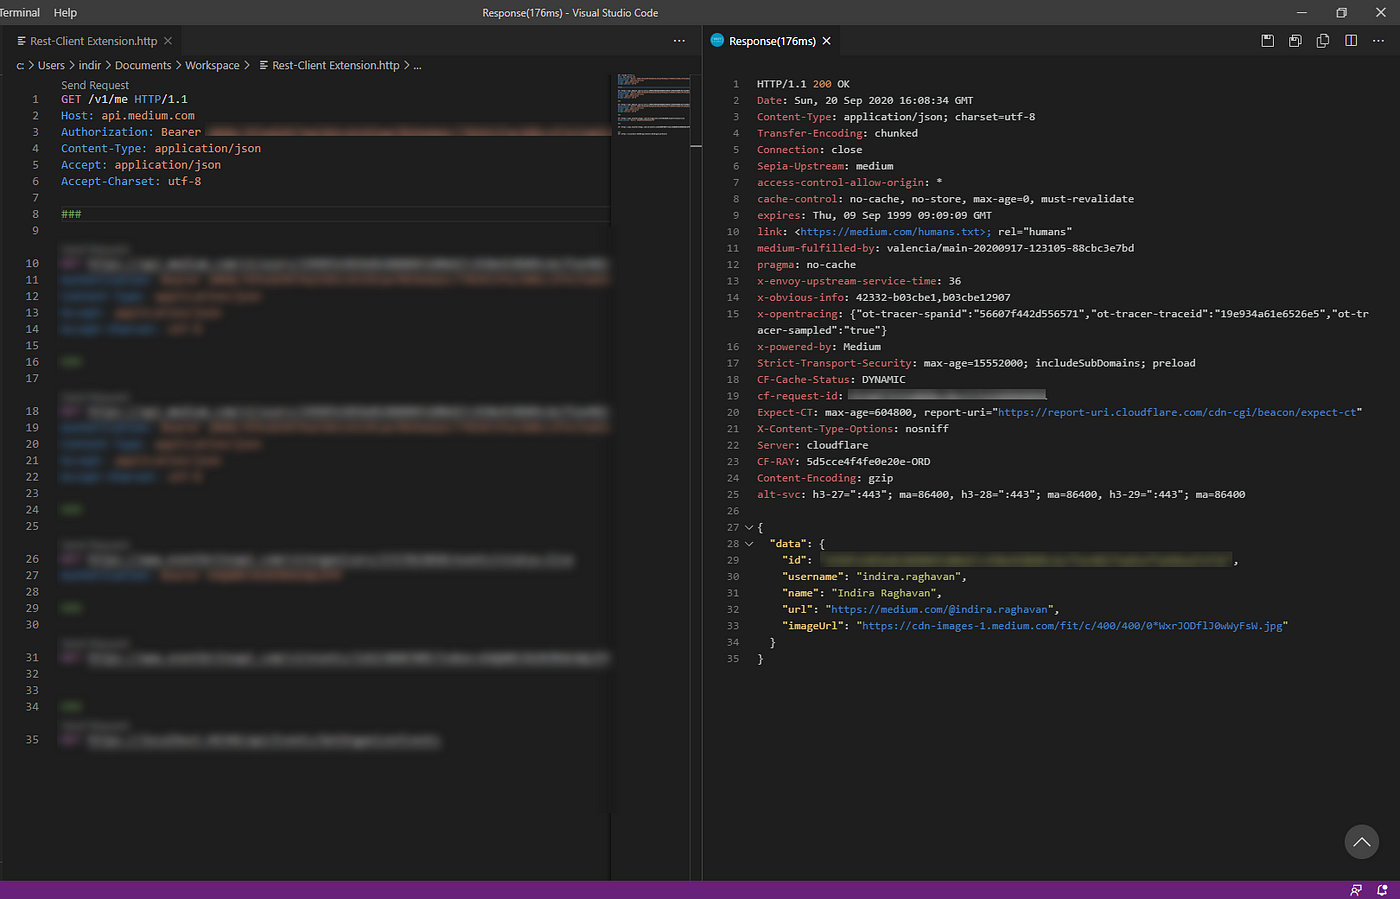
Load up the .http file with requests. I am using medium API get requests. You can see small ‘Send Request’ appears on top the GET call. If you don’t see this, check the language settings for the file. You can also right click on the GET to send the request.

The response for the GET request shows as below:
You can work on PUT/POST/DELETE all the same way as GET request. For additional headers like Content-Type or Authorization with Bearer token you can include that as part of your Header for the request.
GET /v1/me HTTP/1.1
Host: api.medium.com
Authorization: Bearer *************
Content-Type: application/json
Accept: application/json
Accept-Charset: utf-8
You can construct a Request by adding JSON body as below:

You can also send XML request body instead of JSON and you can send SOAP requests. Use ### to differentiate between requests.
POST https://example.com/comments HTTP/1.1
Content-Type: application/xml
Authorization: token xxx

<request>
    <name>sample</name>
    <time>Wed, 21 Oct 2015 18:27:50 GMT</time>
</request>###POST https://soapUriExample.com
Content-Type: text/xml<soap:Envelope xmlns:soap="...." xmlns:xsi="...." xmlns:xsd="...">
    <soap:Body>
        <updateSoapReq xmlns="...">
           <soapInnerBody xmlns="">
                {"Info":{"password":"****","username":"services"},"innerInfo":{"value1":"value1","value2":"Value2"}
           </soapInnerBody>
        </updateSoapReq>
    </soap:Body>
</soap:Envelope>
For more examples and details of how to use Click here.
Have fun exploring!
